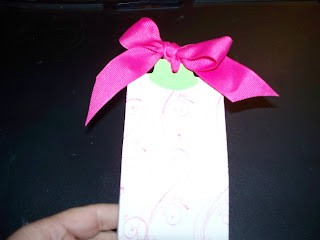
Here's what you need:
1. Plain envelope. I used the standard small mailing envelope. Not sure what size that is called.
2. Background stamp. Wheels are awesome for these.
3. Embellishment.
4. Ribbon.
Step 1: Seal envelope... Yes, seal envelope!

Step 2: Stamp your background image on both sides of the envelope.

Step 3: Cut off the top of the envelope. (If you use a #10 envelope, cut it in half and make 2 bagalopes!)

Step 4: Score 1/2" on the 3 uncut sides. (To change the dimensions of your bagalope, score at 3/4")

Step 5: Fold your scored edges and run a bone folder over them to make sure they have a good sharp fold.

Step 6: Insert your hand into the bag to pop it open.

Step 7: Push the bottom up. You will end up with two triangular shaped tabs on the bottom. Fold under like you would on a present. Adhere to the bottom.

Step 8: Punch two round tabs out using the Round Tab punch from Stampin' Up!


1 comment:
Great tutorial Kim!!! I'll have to try that one day! Neato!!
Post a Comment